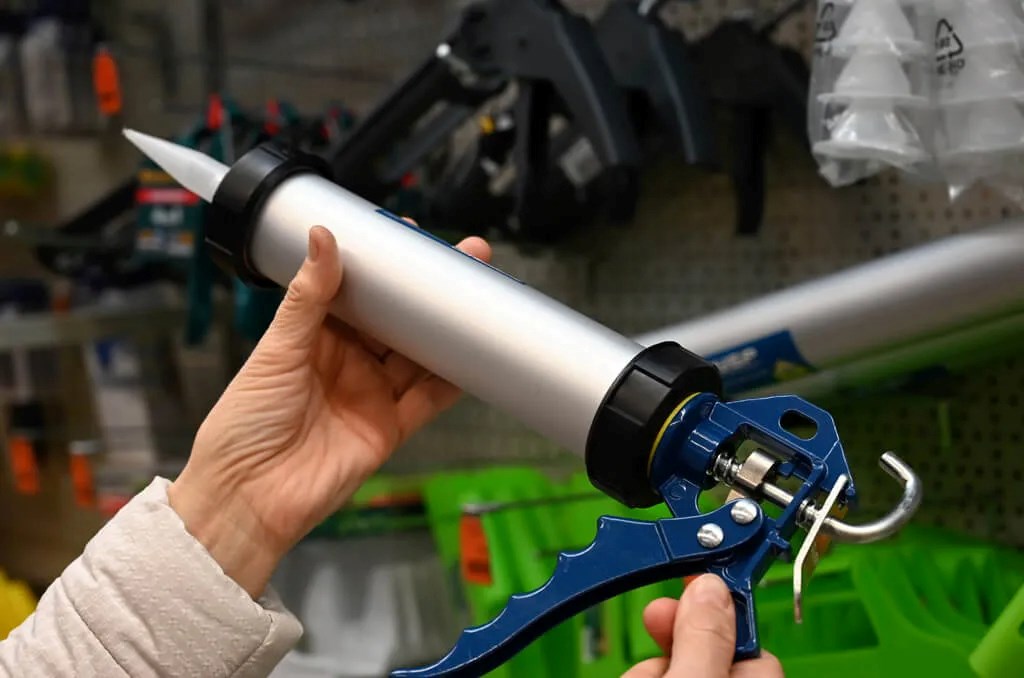
How to use a caulk gun?
Published date: 19 June 2024

Whether you’re sealing gaps around your windows, filling cracks in your bathroom tiles, or repairing leaks in your kitchen, using a caulk gun is an essential skill for any DIY enthusiast. This handy tool makes applying sealants like silicone quick and easy; all you need are the right instructions and some practice. In this guide, we’ll walk you through the process of using a caulk gun step-by-step, ensuring you can tackle your caulking projects with confidence.
What Type of Caulk Should I Use?
Before you start, it’s essential to choose the right type of caulk for your project. Caulk usually comes in disposable cartridges with an applicator tip and a plunger. The main varieties of caulk are latex, silicone, and butyl rubber, each with unique strengths. Latex caulk is ideal for dry areas, while silicone is perfect for moisture-prone spots like bathrooms and kitchens. Butyl rubber works well for exterior applications due to its durability. If you need a versatile sealant, consider the latex-based Loctite Polyseamseal All Purpose, which offers superior strength and sealing properties for both interior and exterior projects.
Preparing the Caulk Gun
- Pierce the adhesive cartridge tube: First, remove the cap from the caulk tube. You’ll notice a seal at the top of the tube. Insert the metal rod on the caulk gun into the tube to break the seal.
- Insert the caulk tube: Pull the plunger on your gun all the way back, to create space for the caulk tube. Insert the tube into the cradle of the gun. Make sure the tube is seated firmly in the cradle to avoid any slippage during use.
- Push the plunger: Once the tube is in place, push the plunger forward until it hits the bottom of the tube. The caulk is now ready for application.
Applying the Caulk
- Place the tip at the starting point: With the tube loaded and ready, position the nozzle at a 45-degree angle at the starting point of the area you want to caulk. The tip of the nozzle should also be cut at a 45-degree angle, for better control over the caulk bead. Use the cartridge’s built-it snipper, if it has one.
- Disburse the caulk bead: Now, gently squeeze the trigger to start the flow of caulk. Move the gun steadily along the seam or crack, maintaining even pressure on the trigger. This will ensure a consistent bead of caulk.
- Finishing touches: After applying the caulk, smooth it out for a professional finish. You can use a caulking tool or a rag, and water. Do not use your finger, as that could contaminate the caulk and decrease its lifespan. If you’re working with silicone caulk, you can use alcohol to smooth the joint.
By following these simple steps, you’ll find that using a caulk gun is a straightforward and efficient process. With time and experience, you’ll master the caulk gun like a pro, ensuring your projects are sealed perfectly every time.
At Conro Electronics, we’ll show you how to improve product reliability while increasing performance and lowering costs. Our team of technical support specialists will provide your company with dependable global supply, unrivalled efficiency, and superior technical support.
Feel free to contact us on 0208 953 1211 or send us an email to info@conro.com


Comments
There are currently no comments, be the first to comment.