How to apply Loctite Threadlockers
Published date: 15 February 2021

In our latest article, we discussed how to choose the right threadlocker and the advantages of using them.
Continuing the same topic, in this article we will discuss how to apply them.
It is relatively straightforward to apply threadlockers however we will explain step by step what to do.
Steps
There are mainly 4 steps to consider:
- Preparation: Preparing the surface
- Application: Apply liquid threadlocker to the engagement area.
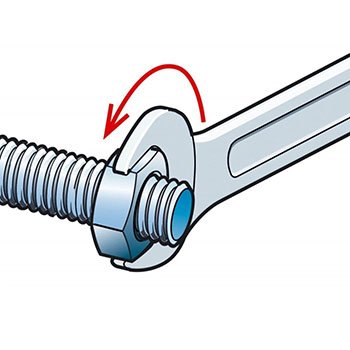
- Assembly: Assemble and tighten
- Disassembly: Disassemble with standard hand tools
1. Preparation
Cleaning
It is recommended that LOCTITE 7063 be used for
degreasing and cleaning of surfaces prior to adhesion.
Activation
If curing speed is too slow due to passive metals
(stainless steel, aluminium and plated metals) or
low temperatures (below 5°C), use activator
(see cure speed vs activator graph in the TDS).
2. Application
Apply liquid threadlocker to the engagement area.
Through Hole
Assemble bolt first and then apply threadlocker. Apply nut and tighten to correct torque.
Blind Hole
Apply into lower third of blind hole.
Post Assembly:
Assemble nut and bolt, dispense product at the edge of nut and bolt.
3. Assembly
Assemble and tighten. If multiple bolts are assembled, torque them down to the correct value inside the fixture.
4. Disassembly
Disassemble with standard hand tools. If not possible, apply localised heat to approximately 250°C and disassemble while hot. For corroded or seized parts use LOCTITE 8040 Freeze and Release.
Finally, we can also recommend the following video if you would like find out more:
Source: henkel-adhesives.com


Comments
There are currently no comments, be the first to comment.